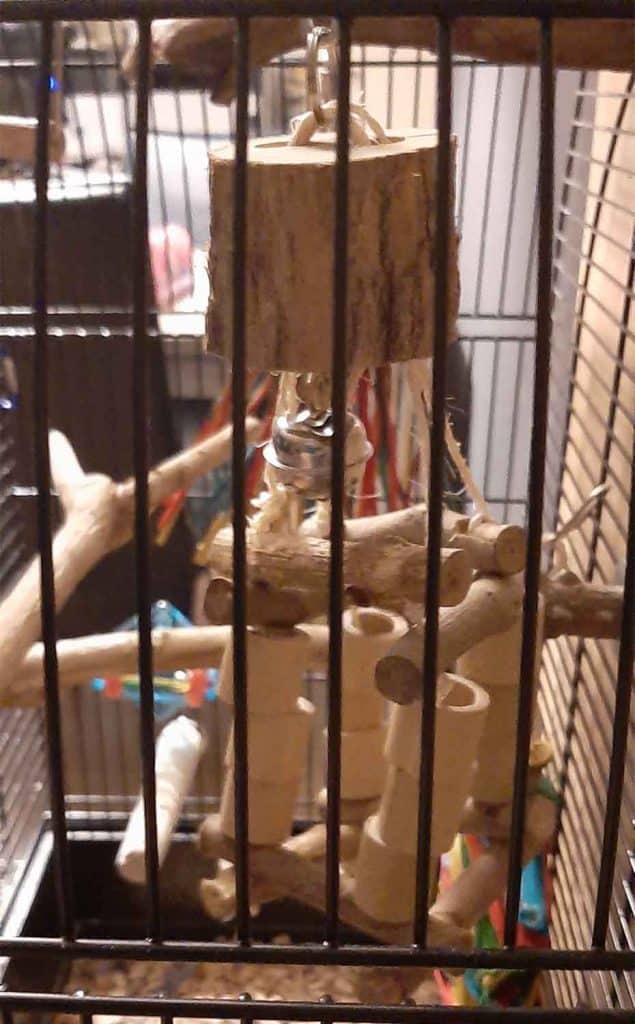
From bad bird toy to good bird toy
Before I started looking into items and toys that were safe for lovebirds, I purchased some toys that had cotton or fabric. Both are not really safe for my adorable Apache, especially if she is on her own. So I took them out of her cage (much to her dismay, she liked them) and decided to look into ways of making them safe for her.
In this post I will show you step by step what you can do with your bird toys to make them safer.
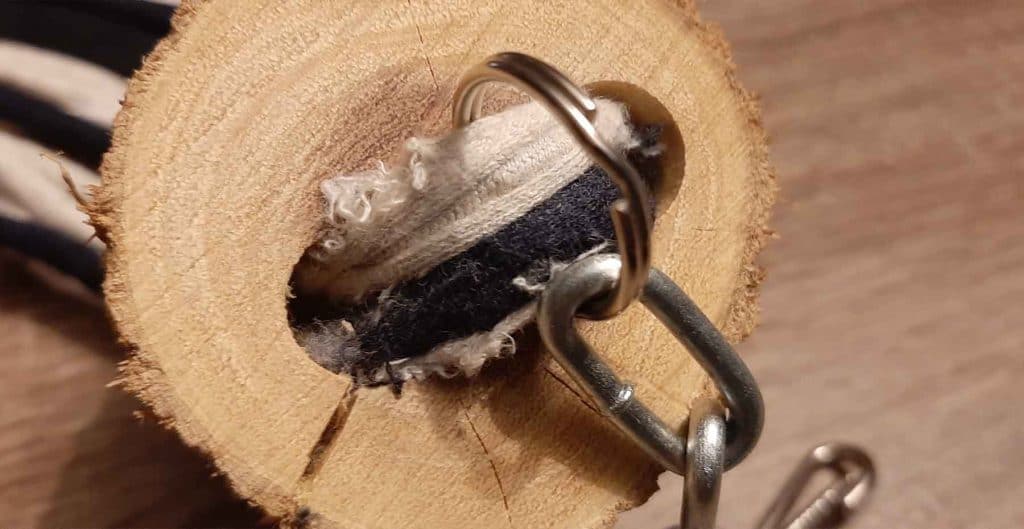
Step 1 - Remove the bad material
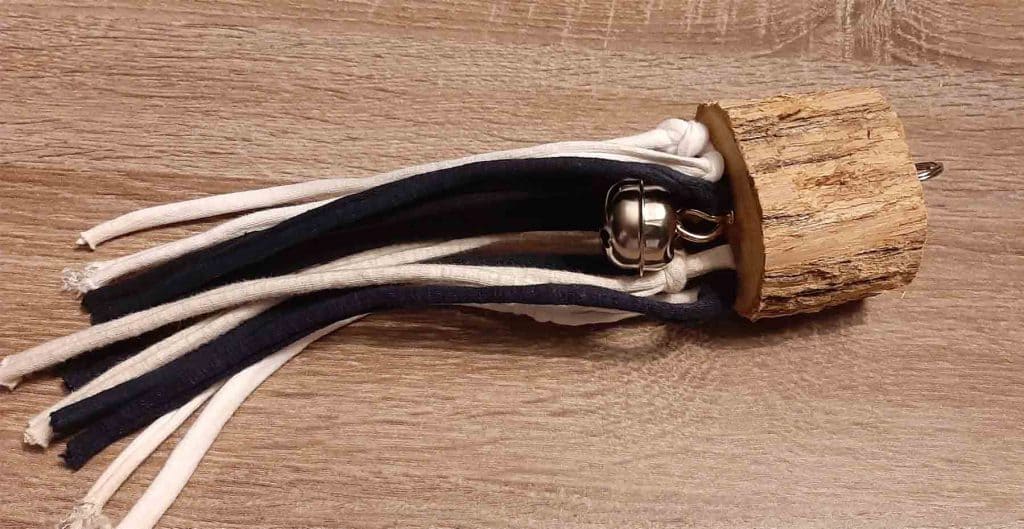
As you can see in the images below, Apache had been gnawing on the fabric and it started to fray. After properly studying the toy to see how it was put together, I cut the fabric away.
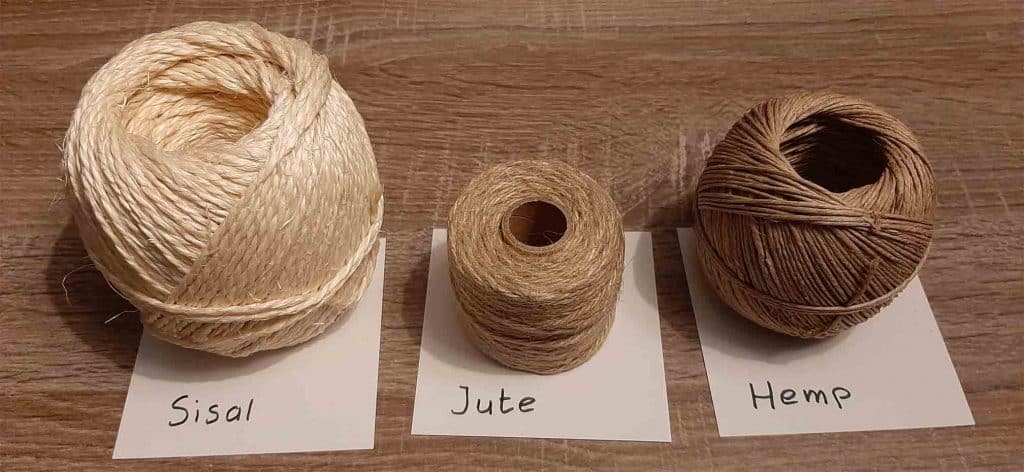
Step 2 - Selecting the proper rope material
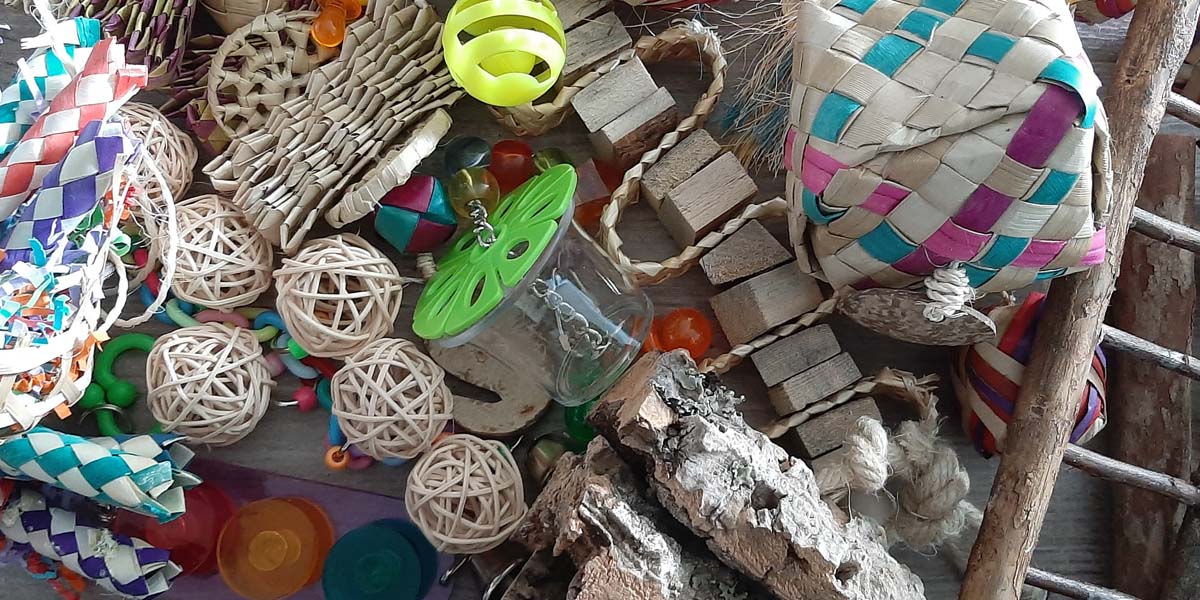
I then bought sisal, jute and hemp rope and looked at what would be the best material that I wanted to use for this particular toy. Eventually I decided to use sisal.
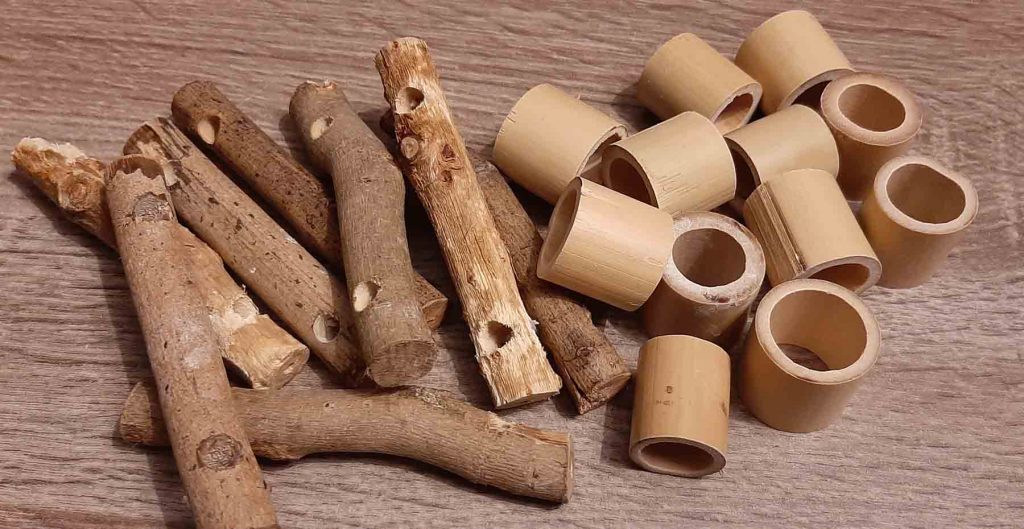
Step 3 - Add some more fun
The original toy only had strips of fabric, but I decided that having just some rope was rather boring. So I dove into my (half destroyed) bird toy box to see what else I had. In the past I gave her a rope bridge which had bamboo pieces. Apache destroyed the rope, but not the bamboo or wood, so I decided to use those in this new toy.
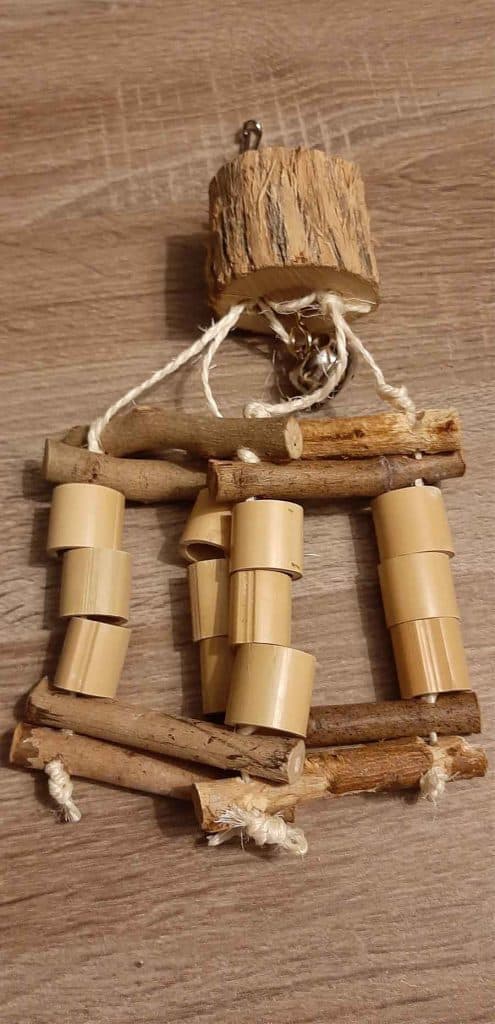
Step 4 - Assembling the toy
After making a few sketches of what I wanted this new toy to look like, with the material I had, I cut the rope into its proper sizes. It felt like doing a primary school crafts project.
I had to make a few adjustments along the way as it never goes the way you sketch it…
To make sure it doesn’t move around too much I made several large knots so the wood wouldn't slip through. I actually forgot one set of knots, making the big chunk of wood slip down too much. So I used another piece of rope to adjust it to the right height.
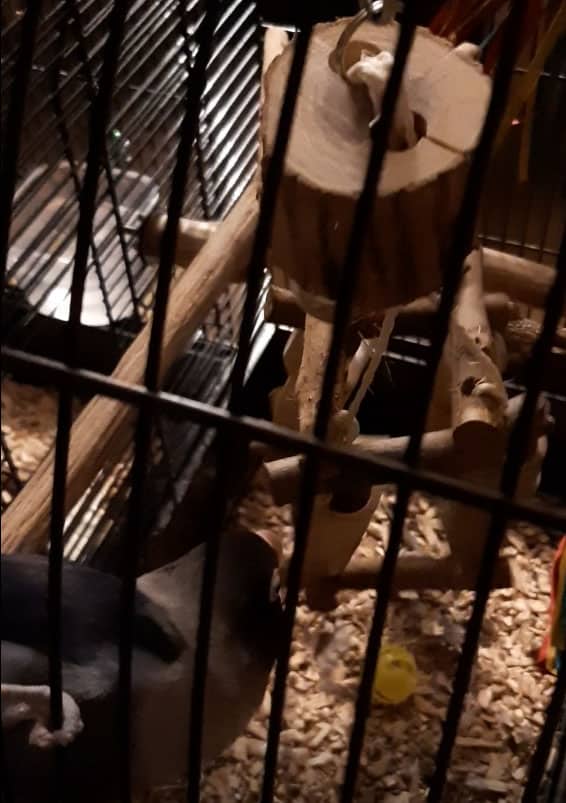
Step 5 - Putting it in the cage
When I was done, I placed the newly assembled toy in Apache’s cage. This turned out to be bit of a challenge as I wanted to put it back in the position it was before, but my arms couldn’t fully reach it. Eventually, with some effort, I was able to manage.
Step 6 - Apache’s judgment of the ‘new’ toy
Apache went right for it, not careful at all, like she normally would be when I put new toys in her cage. She ‘wagged’ her tail quite a few times and seemed rather happy with her toy being back even with the new adjustments.

Final thoughts
Changing this toy to something safe for my lovebird took less than an hour of work and it was nice to see Apache so happy with her now “new” safe bird toy.
I think I will probably alter some more of her bird toys in the future.